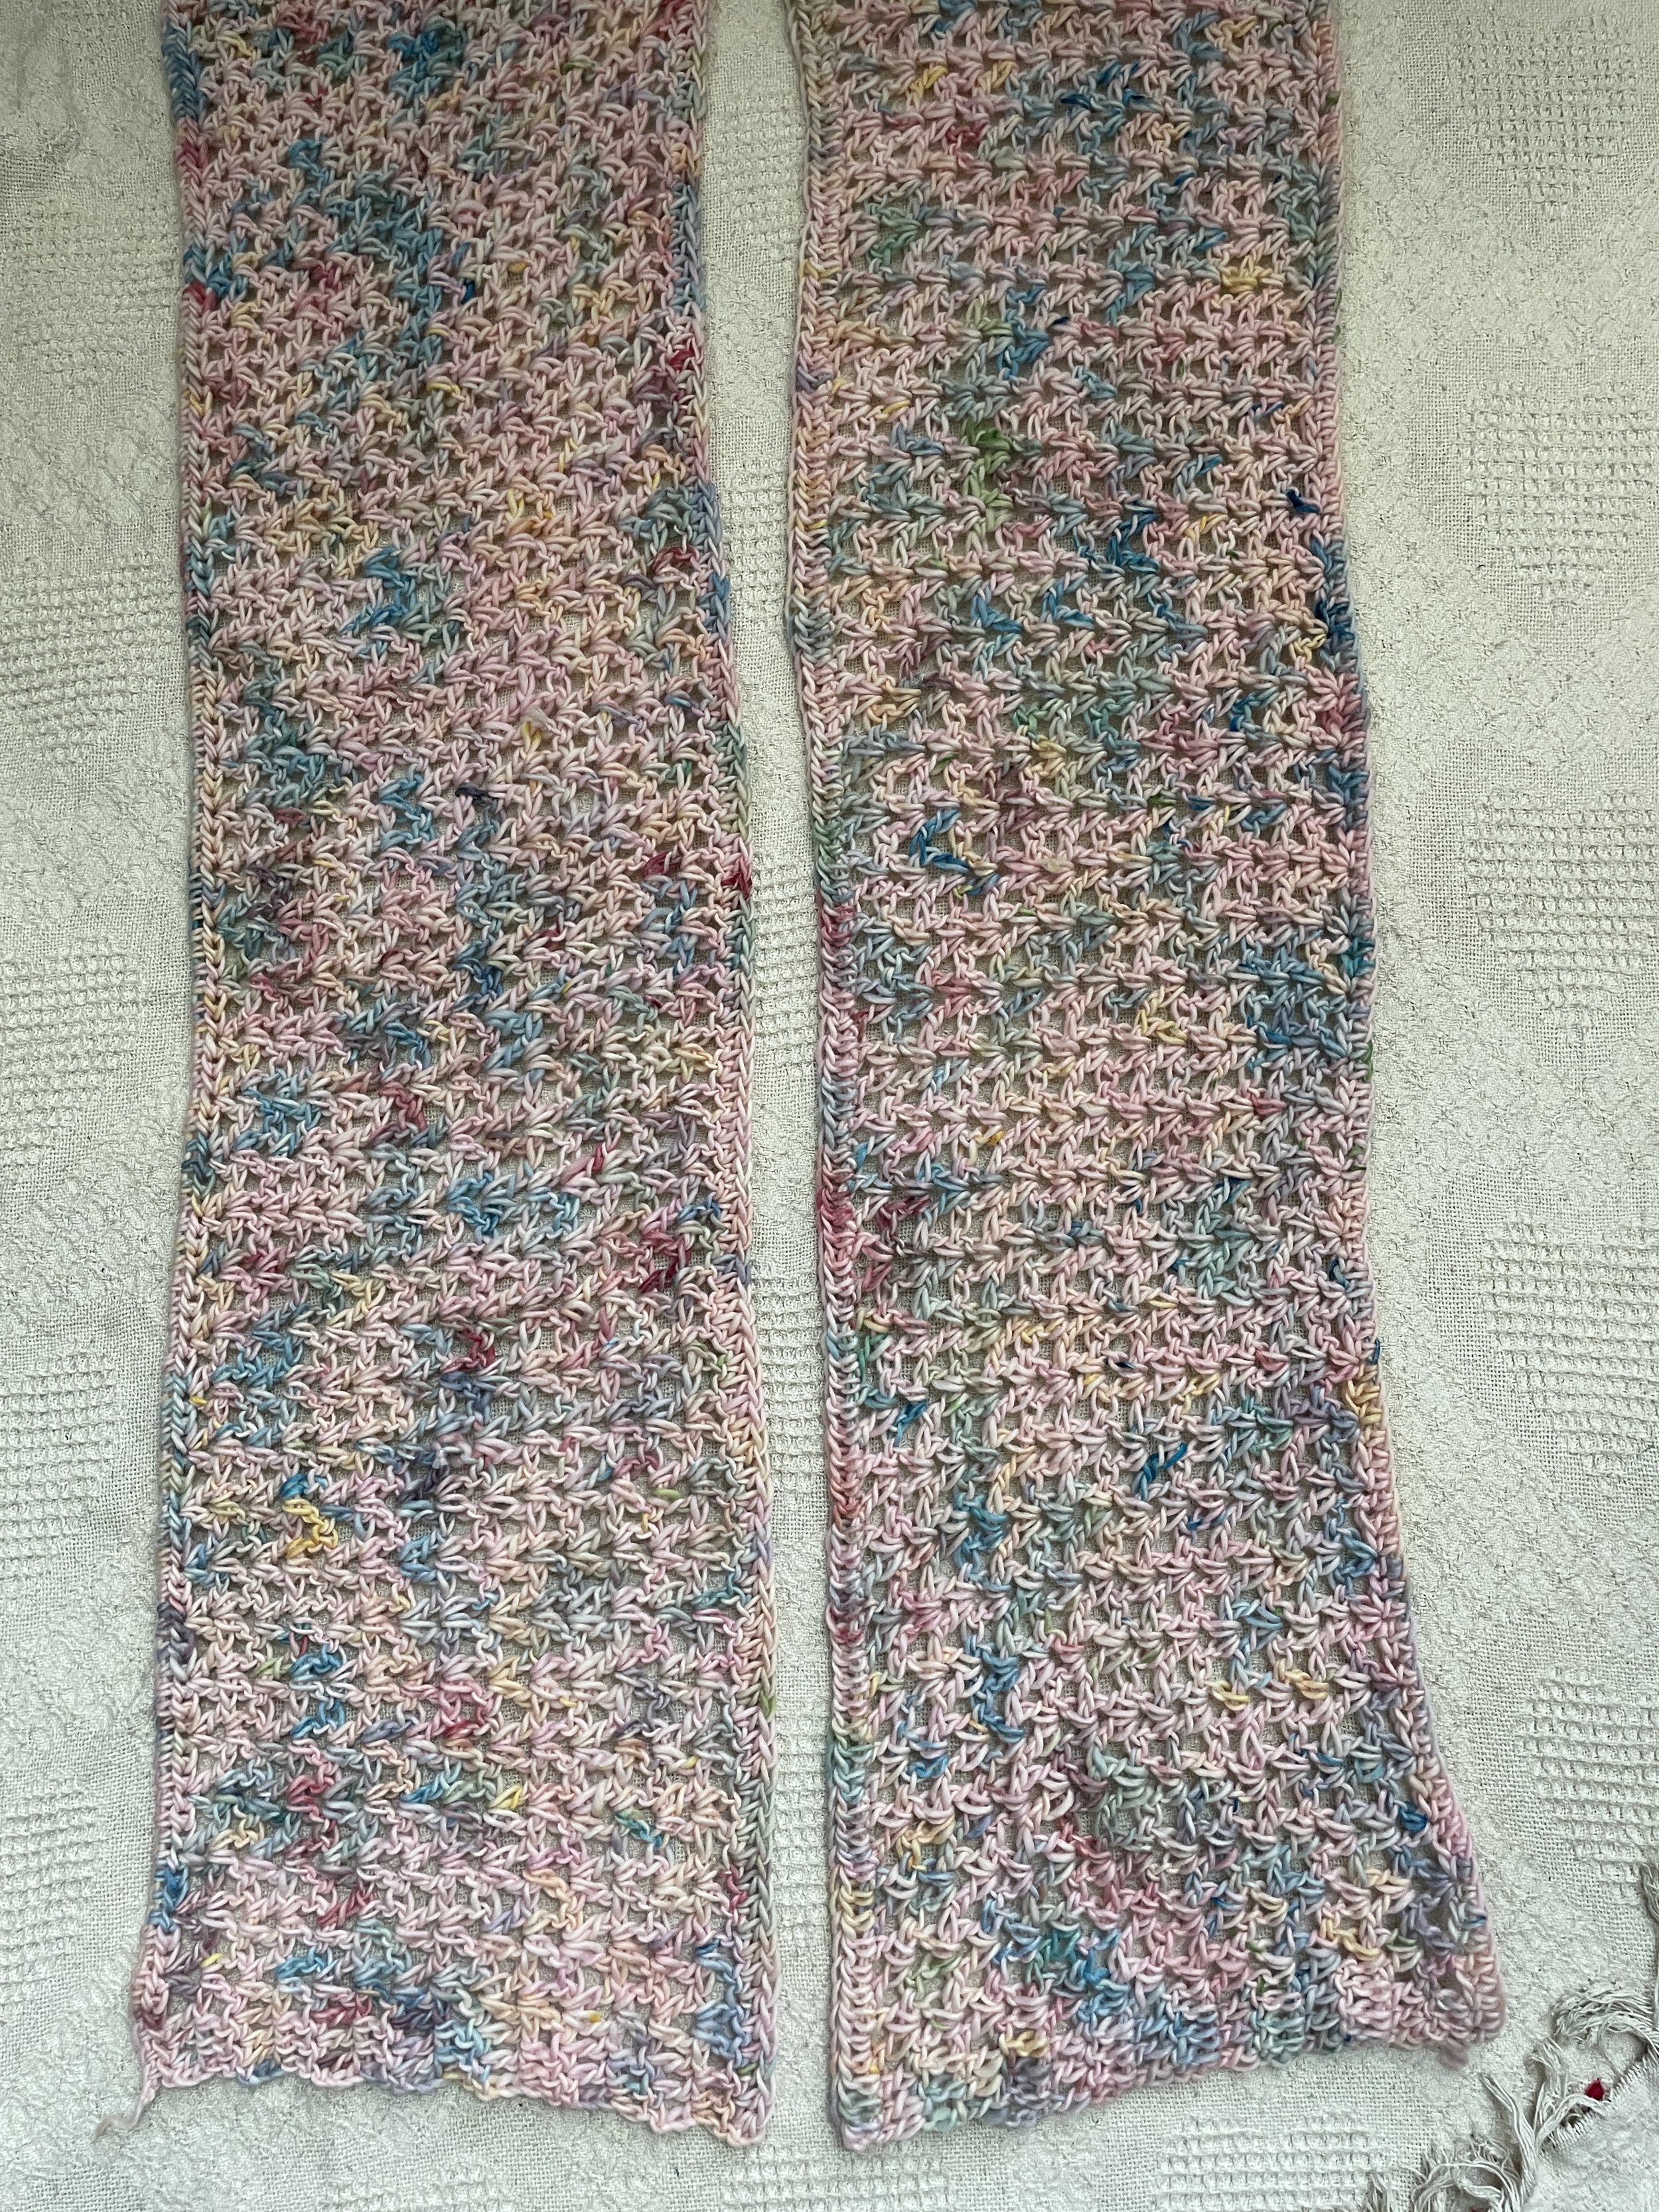
The Wide Sleeve Crochet Top Pattern Guide.
Hello there! Wanted to share one of my favorite go to designs to create an easy throw on Crochet Top, perfect for a comfy handmade cover!
MATERIALS
[Used 2-3 Balls for SM/MD]
LG/XL=3-*4
2XL-3XL= 4-*5
4XL/5XL= 5-*6
*May increase yardage for extra length/personal desired fit,
Yarn: “We Are Knitters” / “The Petite Wool”- Bulky 5, 100% Wool, 153 yd. / 140 m.
US K/10.5-6.50MM Crochet Hook
Yarn Needle
Scissors
Measuring Tape
Stitch Markers
Gauge:
8 HDC STS [Going Across] [width] X 5 DC Clusters [Going Down] = 4 in.
Details:
Cropped Style
FOR [SM/MD]=39 inches across [width] X 13 inches [length]
Abbreviations:
CH [#] Turning Chain initiated
STS= Stitch [es]
SC= Single Crochet
HDC= Half Double Crochet
DC= Double Crochet
STARTING THE PATTERN
Note: Pattern is constructed in 2 Panels, [Front and Back]
Worked in multiples of 3
TCH does not counts as a single ST
Video Tutorial on the Crochet Youtube on How to Create These Wide Sleeved Tops Too!
Measured from Wrist to Wrist, going across width of Arm span, detailing how wide you would like the Sleeve Length to fit.
SM/MD: CH FOR 114 STS
LG/XL: CH FOR 120 STS
2XL/3XL: CH FOR 126 STS
4XL/5XL: CH FOR 132 STS
R1: CH2, 1HDC across into 114 STS, turn work to continue.
R2: CH3, 1DC across into the first 3 STS, Skip 2 STS and **into the 3rd ST create—[ 1DC, CH1, 1DC all into the same ST] Skip 2 STS and…[**repeat from until the end of the Row, ending on 3 single 1DC STS into the last 3 STS] turn work to continue.
R3-*R15: CH3, 1DC across into the first 3 STS, and **into the middle CH1 cluster space- Work—[ 1DC, CH1, 1DC all into the same CH1 space] Skip 2 STS and…[**repeat from until the end of the Row, ending on 3 single 1DC STS into the last 3 STS] turn work to continue.
[*NOTE: May increase rows here for the more length, this version creates a cropped version at 13 inches]
R16: CH2, 1HDC across into all of the STS, for the entire Row, At final Row, fasten off to complete work for this section.
REPEAT THIS SECTION TWICE FOR 2 PANELS
FRONT AND BACK PANELS
ATTACHING THE FRONT AND BACK PANELS
Once the Front and Back Panels are complete. Using your yarn needle and a stand of yarn. Set the panels side by side, last Row to last Row of HDC STS to attach.
NOTE: The less STS you attach, the more of an “off the shoulder” look you will create. I wanted mine to slightly drape my shoulders, so I attached more STS to accommodate the look!
You’ll be attaching the STS together, starting from the end of the Row, working towards the middle. This will create your Neckline as well as your Sleeves. You’ll be attaching for the Neckline and the Bottom/Bodice Opening for your Top. Attaching STS for the TOP CORNER FRONT SIDES [BOTH LEFT AND RIGHT] then for the BOTTOM LEFT AND RIGHT SIDES
CREATING THE SLEEVE DETAILS
Once both of the Panels are attached and your top is almost completed. Rejoin hook to creating the Finishing Technique for the Sleeves. For One Round solely [or more for personal desired look] Rejoin hook into the ST of the Sleeve Openings for both [Left Sleeve and Right Sleeve] to create work.
RND1: CH2, 1HDC around into STS, at the end of the round, SL ST into the starting chain to complete work. Fasten off. Weave in ends.
FINISHED LOOK.


